Posts

making menubar and menu on QML
Image
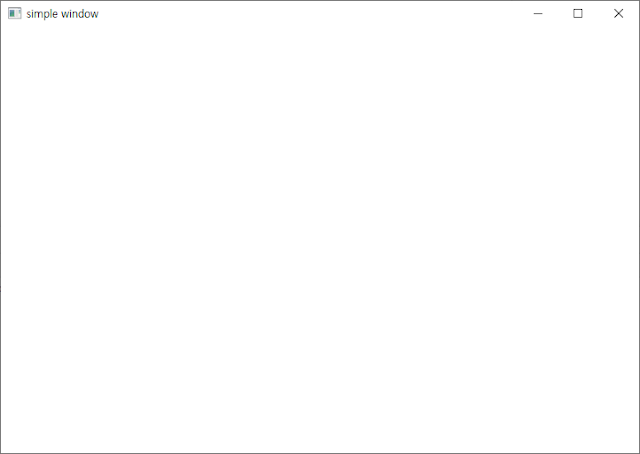
Qt Quick Control module has ApplicationWindow object that has menubar, toolbar, footer and contents areas. in this page, I will introduce how to make menubar. first of all, we need application engine in python. so you can learn the way how to make the application object in python from  how to use Qt Quick Controls in PySdie2 we need simple window like below. import QtQuick 2.13 import QtQuick.Controls 2.13 ApplicationWindow { visible: true width: 720 height: 480 title: "simple window" } WindowApplication is invisible by default. so, we should set the visibility to true. and the properties that I used above are derived from QML Item object. ApplicationWindow has its own properties like below. activeFocusControl : Control background : Item contentData : list contentItem : Item font : font footer : Item header : Item locale : Locale menuBar : Item palette : palette we will focus on only menubar property of them in this pa

Why I learn QML and PySide2

sometimes I feel like that I want to automate something boring when I work on computer. so, I decided to do it! first of all, I investigated what I should do in order to automate something. the result is like below. I should learn scripting. however there are two type of script in desktop environment. such as shell in Linux and batch in Windows. if I learn one of them, I can do only in one platform. so, I choose to learn python. if I learn python, I can do scripting in both of platforms. and then, I don't want to make text base UI. so, I found PySide2. PySide2 is wrapper for Qt that is GUI framework. at last, I want to make automation tool fast and easily. QML is good option for that. QML is Qt Modeling Language. so, if I learn it, I think I can make GUI fast and easily. I just need simple widgets like label, text editor, button and so on. so, I will pick and learn them. if you also have the reason like me, this blog will be helpful. because I will update this b

how to use Qt Quick Controls in PySdie2

Image
in general, QQuickView module is used to load QML file like below. from PySide2.QtWidgets import QApplication from PySide2.QtQuick import QQuickView from PySide2.QtCore import QUrl app = QApplication([]) view = QQuickView() url = QUrl( "view.qml" ) view.setSource(url) view.show() app.exec_() but, if we try to load the QML file that has the root of ApplicationWindow, it will be failed. if you want to load QML file of witch root object is ApplicationWindow, the QML file has to be loaded by QQmlApplicationEngine module. the example is like below. //QML import QtQuick 2.13 import QtQuick.Controls 2.13 ApplicationWindow { title : "Window Application" width : 640 height : 480 visible : true Button { text : "simple button" } } //Python from PySide2.QtCore import QUrl, Qt from PySide2.QtGui import QGuiApplication from PySide2.QtQml import QQmlApplicationEngine QGuiApplication . s

how to declare object in QML

Image
QML file can have only one root object. and the root object is represented as a tree with children objects. a object is declared by the object type and a set of curly braces. below code is a simple example declaring a object. Item { width : 200 height : 200 } some attributes can be contained in the braces. in above example, width and height attributes are contained in Item object. the way to declare children objects is like below. Rectangle { width : 200 height : 200 color : "red" Rectangle { width : 100 height : 100 color : "blue" Rectangle { width : 50 height : 50 color : "black" } } } root is representing red box. and children objects are representing blue and black in sequence. if above example code is executed, you can see that image. in above example,  each object has width, height and color. it looks

let's see the structure of QML document

Structure of QML the structure of QML has two parts import statements root object declaration Import QML document can import necessary modules and namespaces with "import statement". QML dosen't preprocess the import statements unlike other compiler languages such as C, C++ and JAVA. QML import just instruct the references to QML engine. QML document must import QtQuick module at least. and if QtQuick is imported, any QML document in the same directory can be referenced by default. import QtQuick 2.0 //this import must be there Item { width : 200 height : 200 } Object declaration QML document describes the hierarchy of objects. and each object has its own type, id, properties, methods, signals and signal handlers. and you should be careful of that you have to declare just one root object in one QML documentation. import QtQuick 2.0 //this import must be there Item { id : root width : 200 height : 200

let's start QML programming with PySide2

Image
What is QML? QML is UI programming language. it is some like the structure of JSON format. QML is supported by QtQML module. In other words, it is based in Qt framework. QtQuick module includes QtQML module. and QtQuick includes visual components, model-view support, animation framework and other many components to build UI. What is strength of QML? QML is derived from Qt. using QML means using Qt. Qt is cross-platform framework. so, once you are familiar with Qt, you can make desktop, mobile(andorid and ios) and embedded GUI application with only Qt knowledge. and you can choose what you use for back-end with c++ and python. when learning new programming, it would be best way to print "Hello World". so, I will show you how to print "Hello World" with QML and Python. first of all, you should make .qml file. I made View.qml file for example. and then, just type like below code. //View.qml import QtQuick 2.0 Rectangle { width: 200 height

Preferred QSizePolicy in PySide2

Image
preferred policy is very flexible policy. the size of widget can be smaller and larger than sizeHint(). let's check the example code right now. from PySide2 import QtWidgets, QtCore app = QtWidgets . QApplication([]) window = QtWidgets . QWidget() layout = QtWidgets . QHBoxLayout() PreferredButton = QtWidgets . QPushButton( "Preferred Widget" ) PreferredButton . setSizePolicy(QtWidgets . QSizePolicy . Preferred , QtWidgets . QSizePolicy . Preferred) layout . addWidget(PreferredButton) window . setLayout(layout) window . show() app . exec_() I created one button and set the property of size policy to preferred for both of horizontal and vertical policies. then, I run the application. first one is default size that evaluated from minimumSizeHint() function. every built-in widgets has its own reimplemented size hint function. I expected the size of widget is smaller when I decreased the size of window. but the size of widget is not smaller th